PS2 Slim Methylene – STANDALONE
79,90€
you are solely responsible for its installation, use and operation.
we assume you have read the full description below and you know what you are buying 😉.
Description
PS2 Methylene takes the hassle out of repairing your old DualShock 2, by allowing you to use modern controllers, thanks to Blueretro! the controllers that Blueretro supports, Methylene supports!
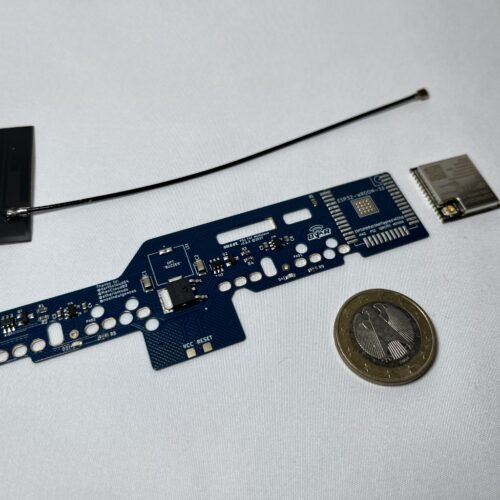
This standalone version integrates the ESP32 module flashed with the specific version of Blueretro for Methylene (you have to solder it on Methyelene board) , so you don’t have to worry about programming. If you already have an ESP32 and the necessary programming, the Methylene BASIC version will do just fine!
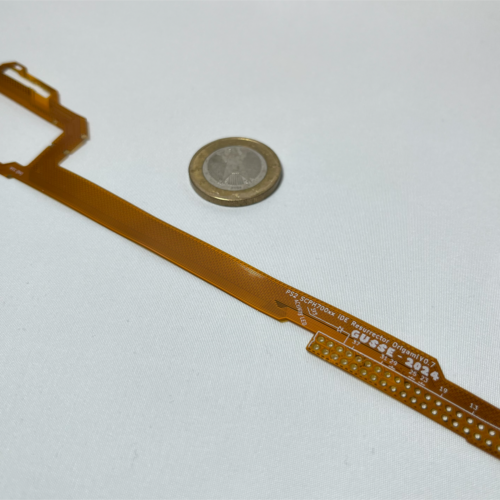
Methylene for SLiM revision 0.7 The design has been improved to allow the board to fit flat, thanks to bigger holes, and it’s now a rigid board. Be careful not to apply too much tension, and don’t press too hard during installation – there’s deliberately some leeway.
Additionally, pads are added for easily connecting an OLED screen (not included) to display the connected device and battery level (still a work in progress; currently, only the battery level for Dualshock 4 is available). For a better signal, it is now supplied with an ESP32 with an antenna.
New alternative points for VCC on the right on the board. The wired controller detection circuit has also been optimized to enable detection of a wider range of wired controllers.
Features:
- Bluetooth pairing of modern controllers
- Internal installation
- Port connection indicator LEDs
- Wired controller connection detection, no more conflicts with wired controllers and internal Blueretro installation
- Remote console power-up via Bluetooth with a previously paired controller
- Remote console shutdown by keystroke combination
- Bluetooth update as for Blueretro
- OPTIONAL: you can add a small speaker (speaker you might find in an old PC, for example), to have a startup/reset/shutdown sound
Compatible with PS2 Slim models:
- SCPH700xx
- SCPH750xx
- SCPH770xx
- SCPH790xx (not recommended: need to cut the shell for one hole)
- SCPH900xx (not recommended: as the space under the motherboard is even more restricted than on the other models, the removal of the ESP32’s metal capsule improves this)
The installation process consists of soldering the board under the motherboard. If you’ve already soldered a chip, this is theoretically easier.
You can check the installation guide here.
By purchasing this board, you are solely responsible for its installation, use and operation.
By purchasing this board we assume you have read the full description below and you know what you are buying 😉.


